

December 15, 2020
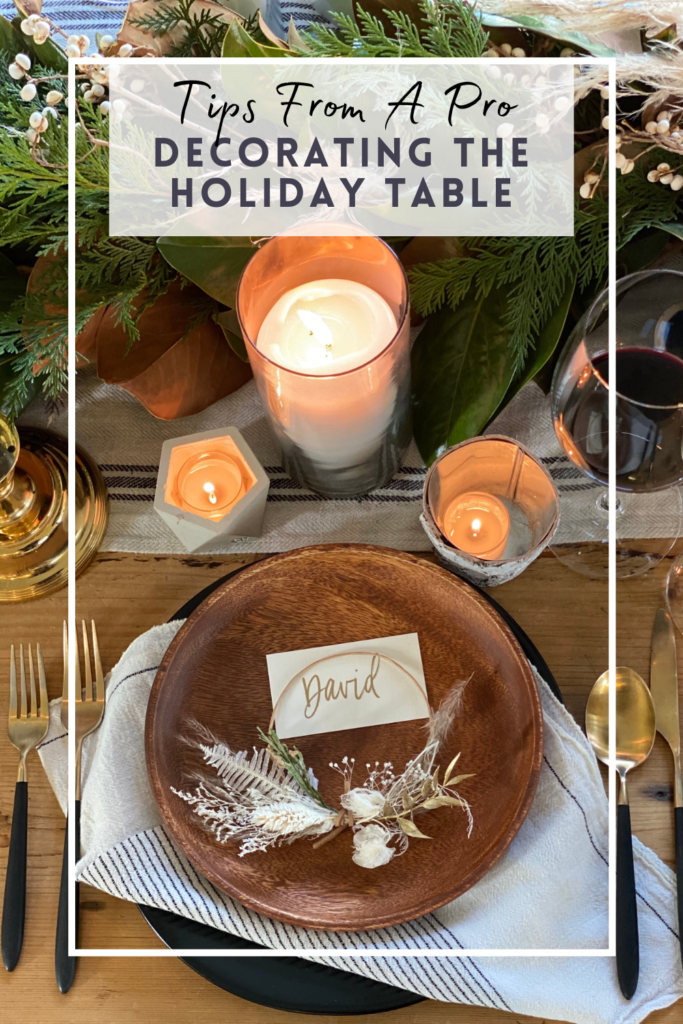
If you are following along this Holiday it’s our 3rd blog in our “Home for the Holidays” series. So far we had fun drying citrus, cutting out snowflakes, and on Instagram Reel we made bath salts. Since events at Danielle Gibson Events are canceled this year due to Covid-19, we have had some free time. We are usually finishing up the year with a fun corporate Holiday party for 2,000 people in San Francisco, but instead I am keeping it fun at home and sharing all things design for the Holidays.
Next up, THE HOLIDAY TABLE.
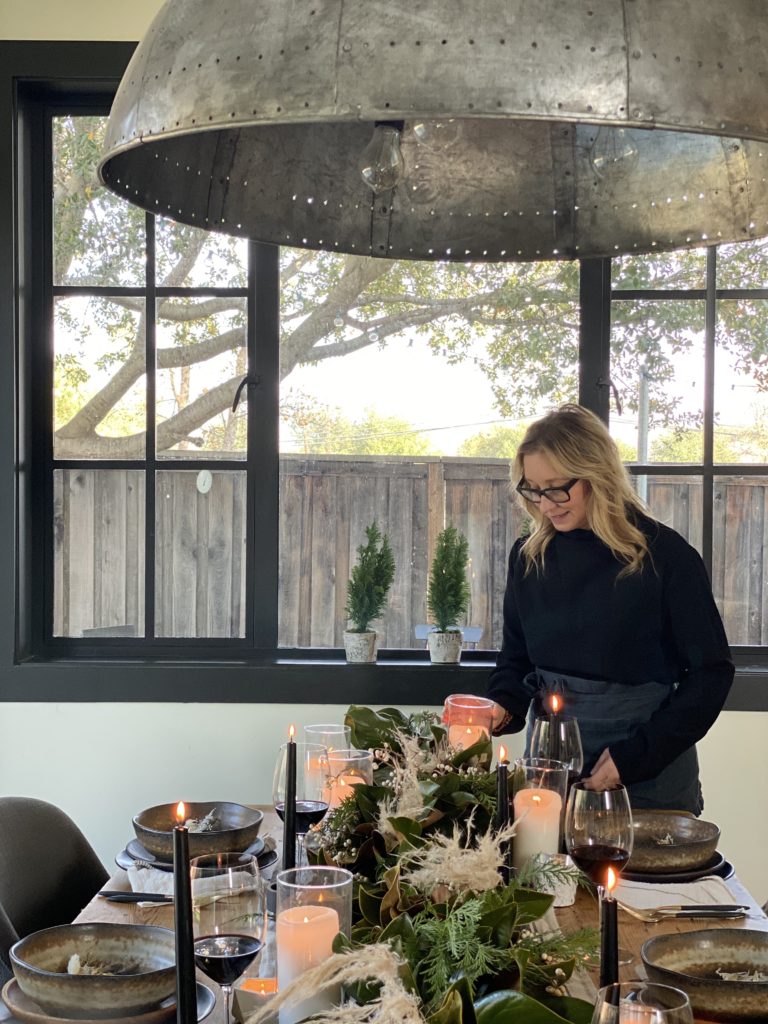
This year the number of people gathering may be smaller than in the past, but I still want it to feel like Christmas. We partnered with Encore Event Rentals and Blushtype to help bring our table design to life.
Let’s start with the garland!
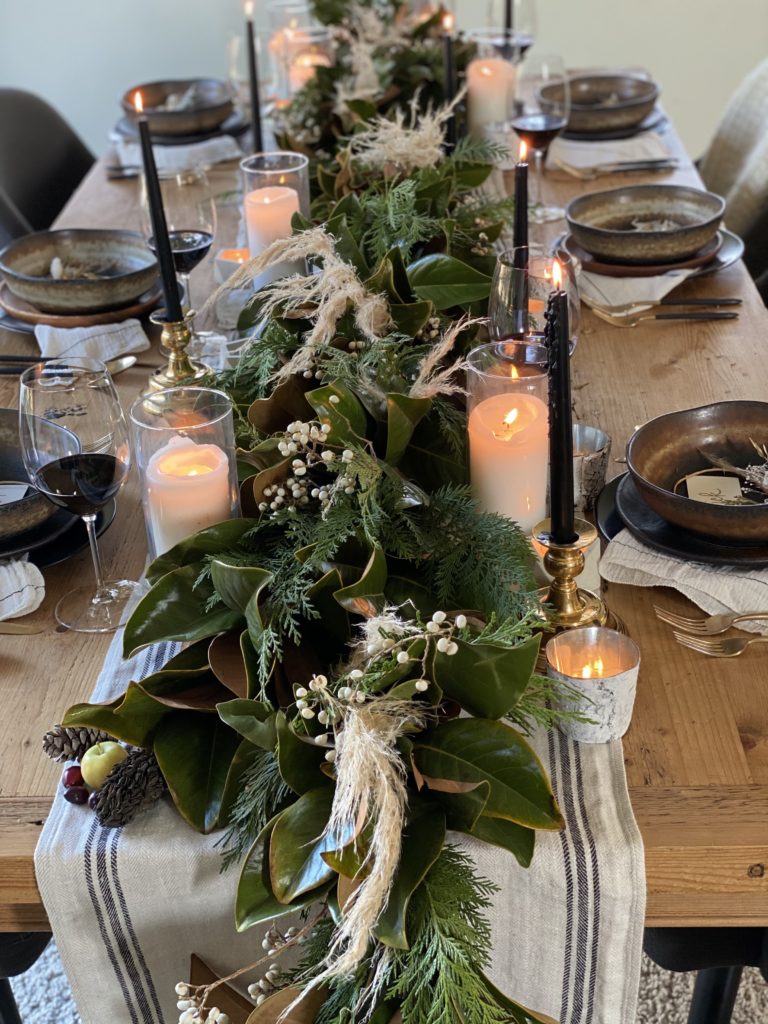
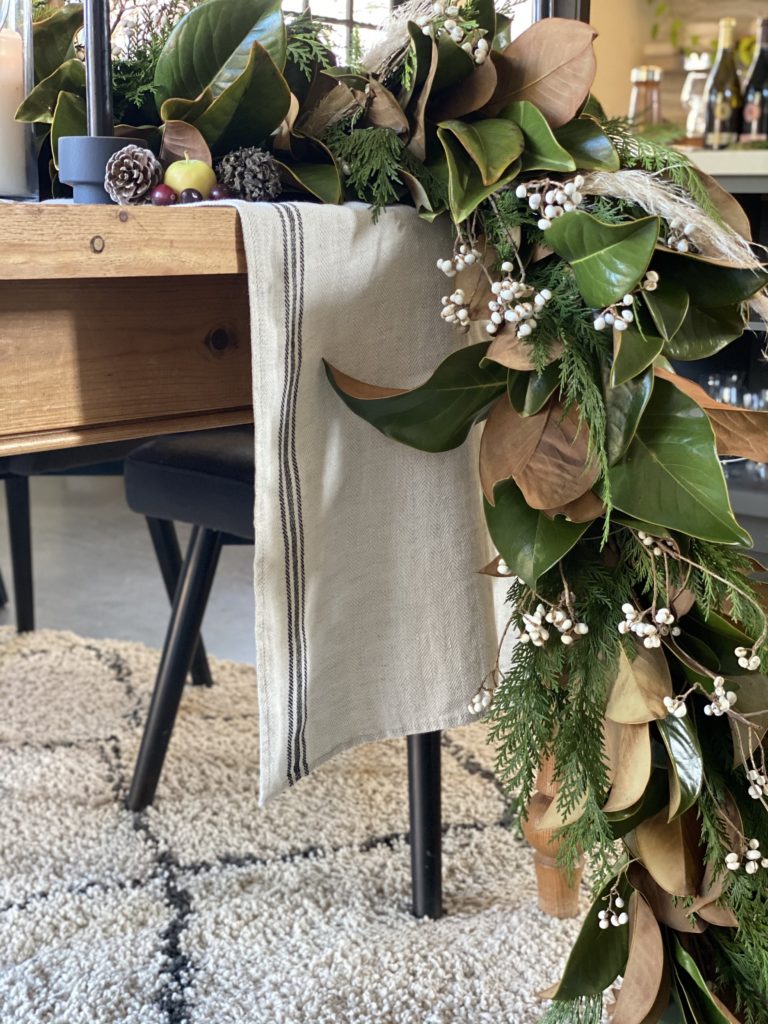
I love using a holiday garland for my table. This one is arranged with magnolia leaves, white berries and some evergreen accents. I purchased this one at the SF Flower Mart, but you can also make this yourself. I tucked in the pampas grass by hand after I arranged it on the table for a non-traditional look. The runner underneath is from Linen Way. ( I don’t remember where I purchased it, sorry!)
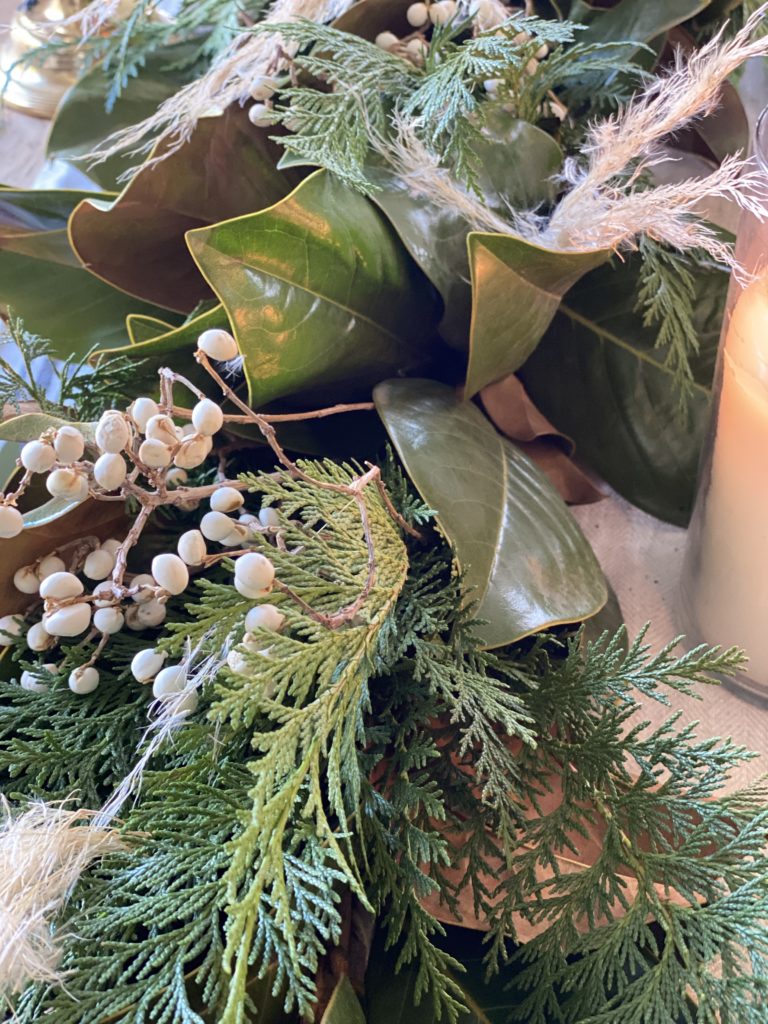
Pro tips:
- If you are going to use garland on your table, have a plated dinner instead of family style since there will not be any room for shared plates.
- Make your garland longer than your table so you can have it sweep the floor for a more dramatic look.
- If you need seat anyone at the heads of the table you will obviously need to shorten your garland.
- Don’t make your garland more than a week before your dinner, as the greens will start to dry out.
- You can tuck in other elements (see below) to add more interest on the table if you have the room. (pine cones, magnolia pods, crab apples, cranberries).
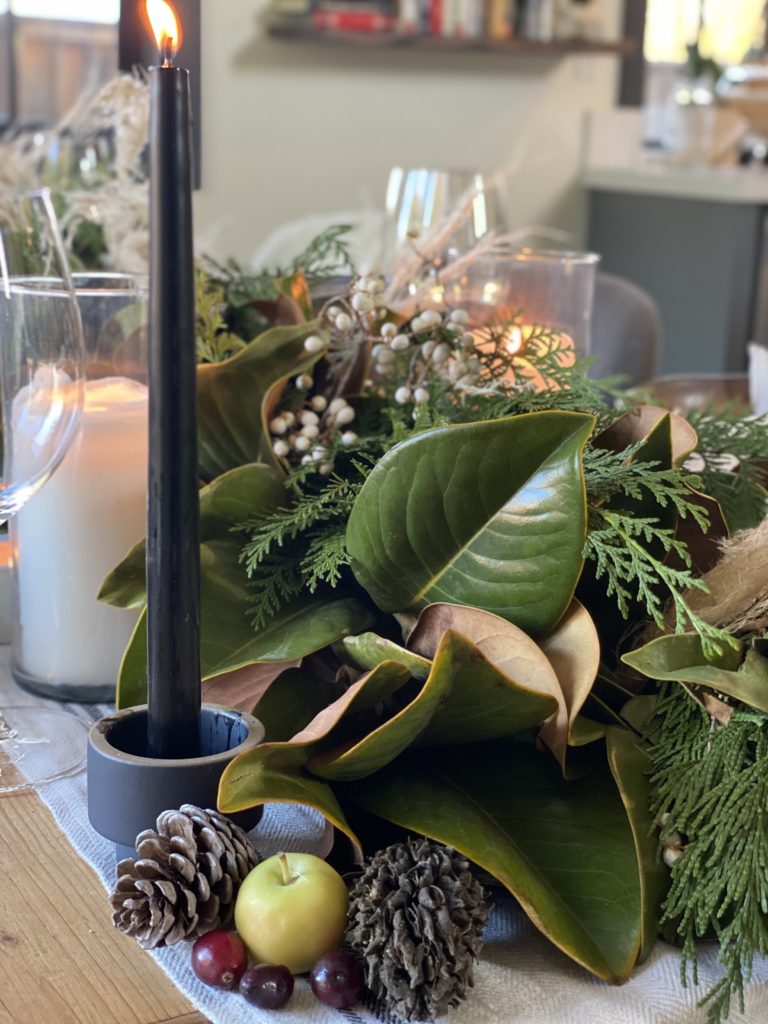
For the place settings, I went with a matte brown/black look. At first thought using black and brown for the Holidays might sound drab, but when you arrange it with colors of the season, it acts more like a neutral color and really creates a beautiful organic look.
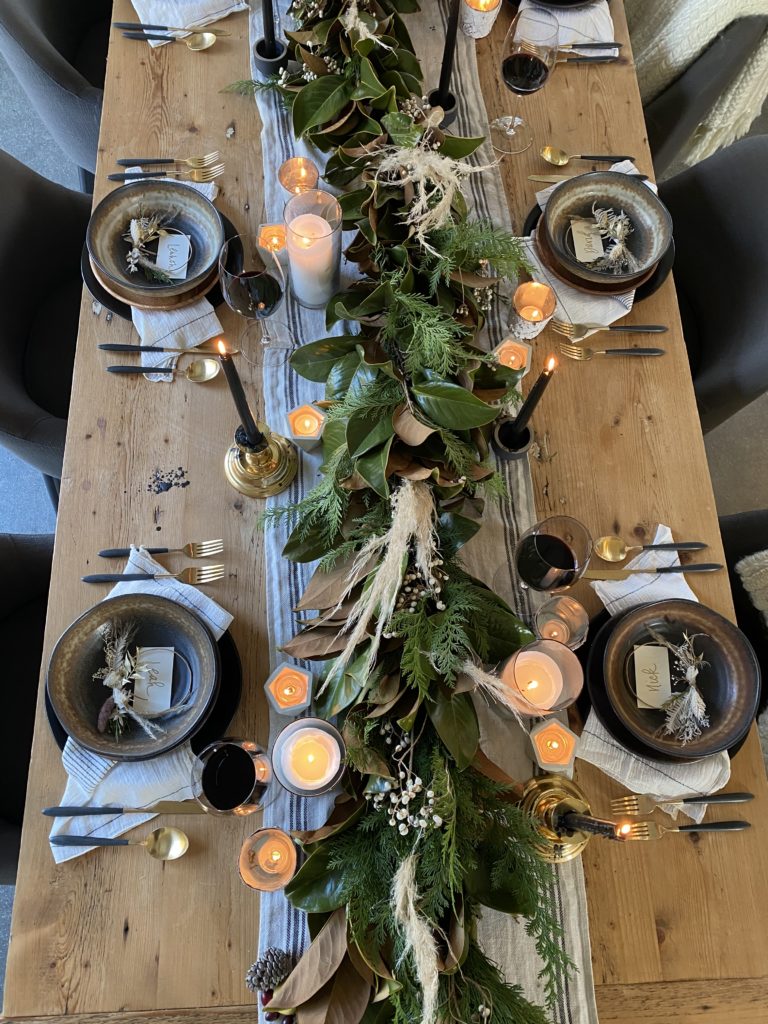
For the place-setting we used the following:
- The Terra black china for the dinner plate
- The Relic small plate for the salad plate
- The Relic bowl for the soup bowl
- The Jensen brass and black flatware
- I also threw in a wooden plate I had on a few place-settings so not every set was the same. (You don’t have to create the same exact place-settings for everyone at the table, mix it up a bit!)
- The napkin is a favorite of mine I purchased years ago here.
- Glassware from Riedel.
- Place cards with mini wreath are from Blushtype. I love these! The additional natural elements add an earthy, dreamy feel to the table…and her modern calligraphy is so on point.
- I used 3 different napkins folds on this table design to give you different ideas for your table. (see below)
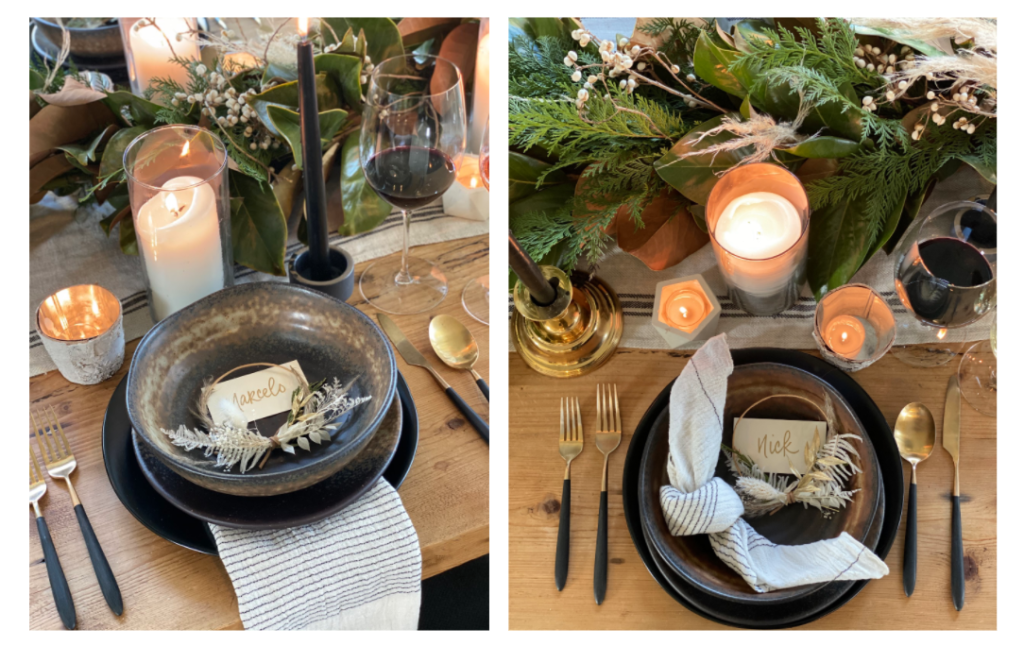
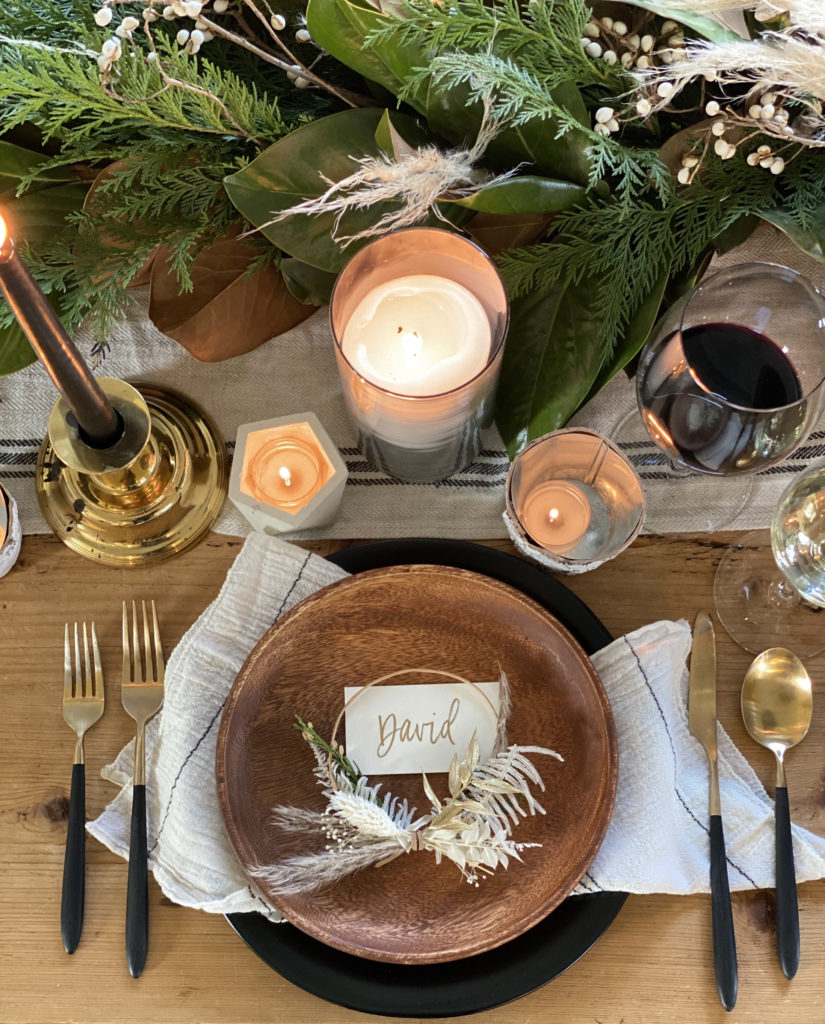
Candles change the whole mood of a table! The more the merrier!
Pro tip:
- Create a mix of different candles – votive, tapers and pillars.
- For votives we used low cement holders with an octagon shape and another a bit taller, wrapped in birch tree bark.
- For the black tapers we used family heirloom brass holders and Heath Ceramic holders. Make sure these are taller than the pillar candles to add different heights on the table since the garland is low on the table.
- For the pillar candles we used white inside of glass hurricane holders.
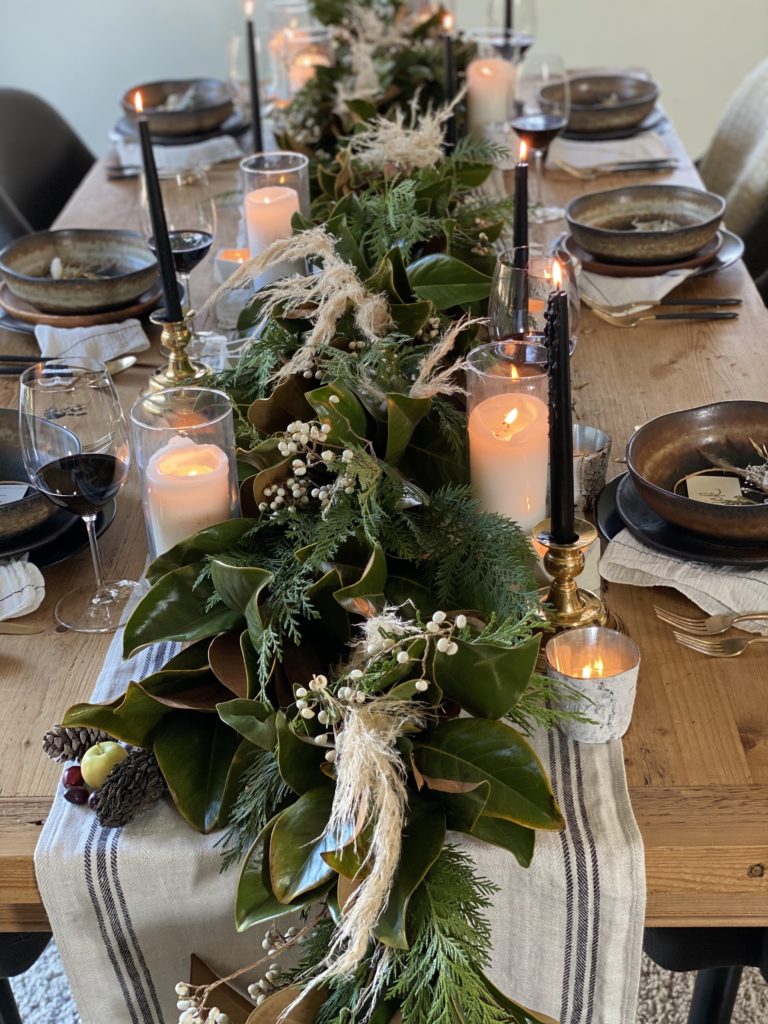
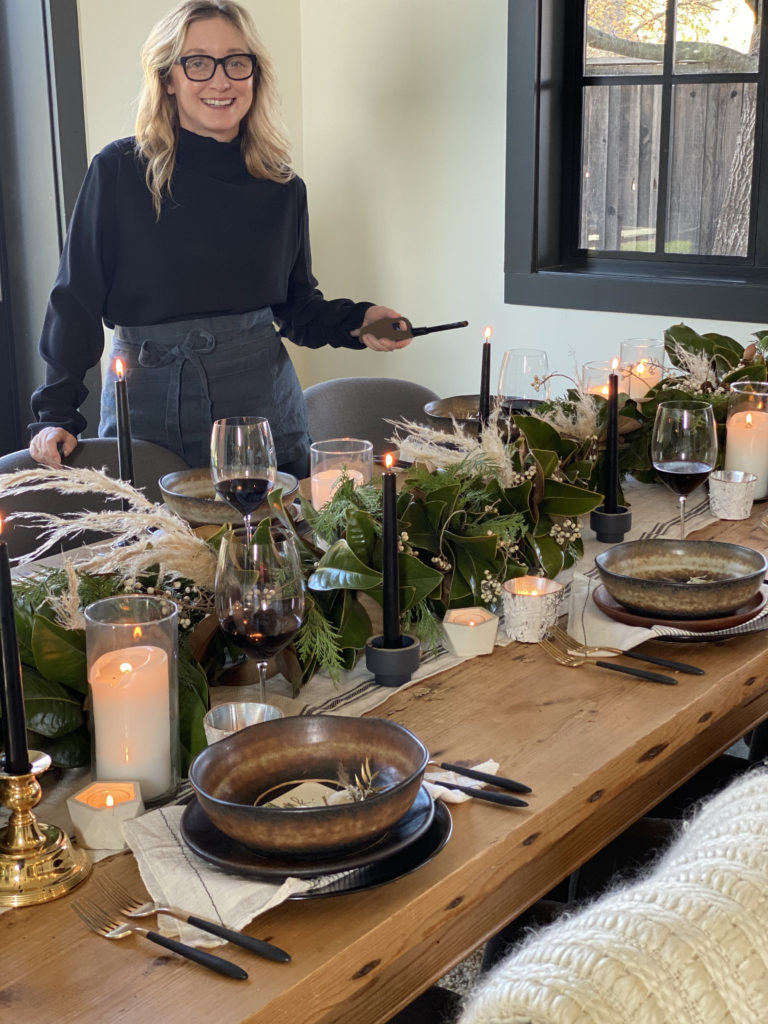
Enjoy setting your table this year no matter how small the gathering may be!
Happy Holidays!
DG Events
Need more Holidays tips? Follow us on Pinterest.
December 10, 2020
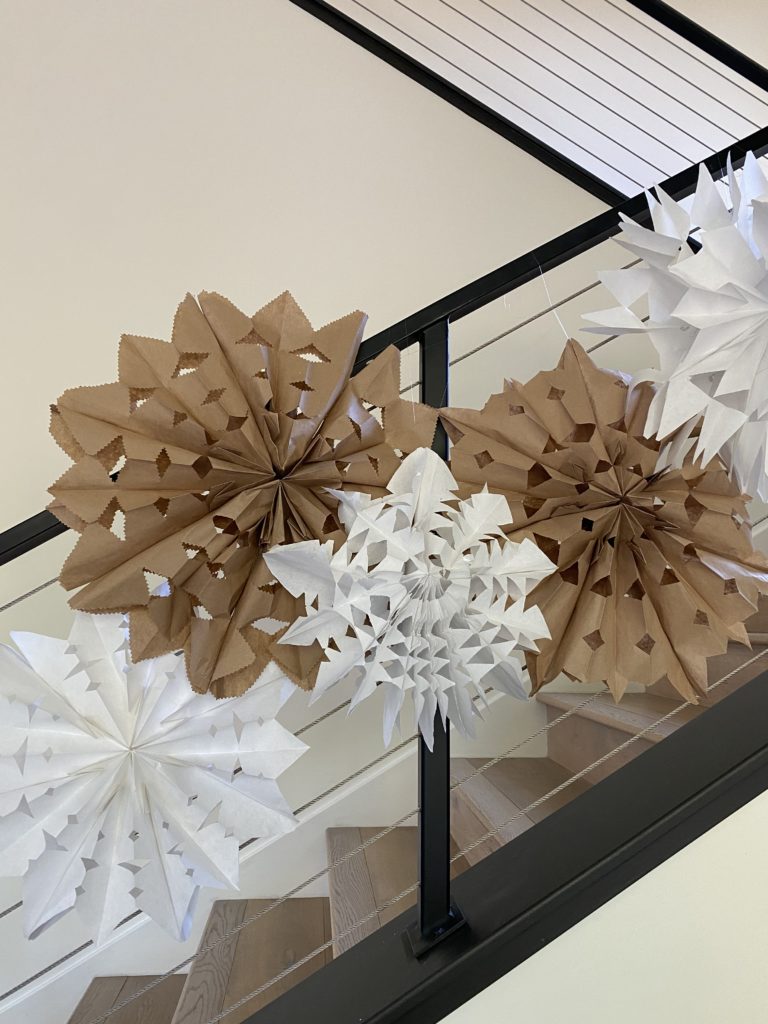
As part of our “Home for the Holidays” blogs we are showing you easy decorating ideas you can do at home, because isn’t that where we all are these day?
Next up, SNOWFLAKES!
You can watch my video on how to create snowflakes on Instagram.
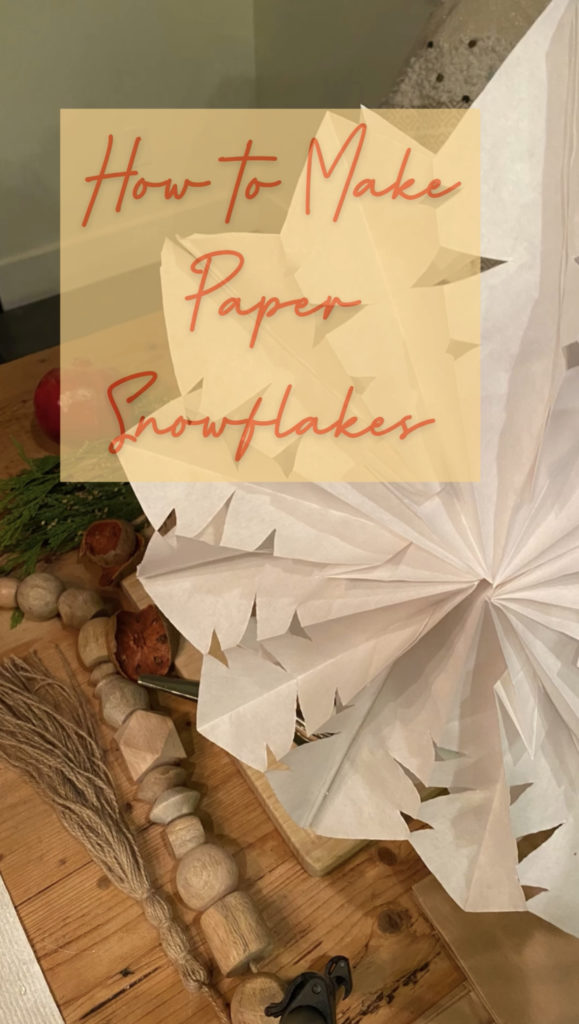
Making paper snowflakes brings me back to childhood. No technology needed, just paper, glue and scissors, and it’s great for all ages!
First up! What You Need:
Paper lunch bags. It’s easy to find these in brown, but adding white into the mix makes decorating more interesting! Look for bags that don’t have branding details on the top, it might be visible when making your snowflake.
Scissors. Make sure to have strong metal scissors since you are cutting through several layers of bags. These decorative edge scissors are fun for this project, but it will be difficult to cut with these plastic scissors because of how many layers you have. It is possible, but will just take you more time.
Glue. You can use glue sticks or hot glue guns. If you are creating with children, I recommend glue sticks.
Monofilament for hanging.
How To Craft Your Snowflakes – 3 Easy Steps:
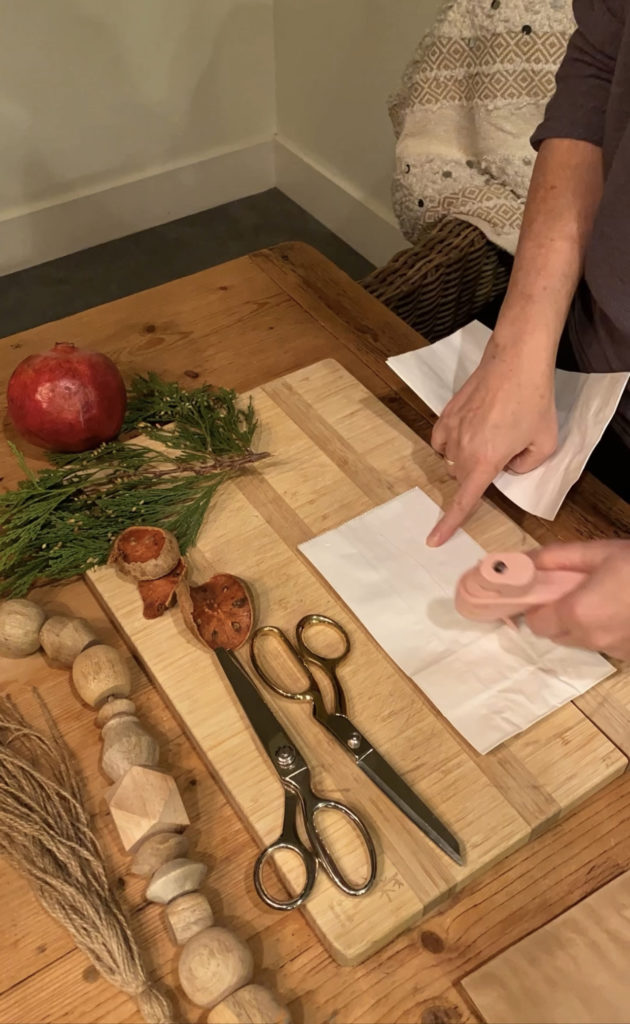
- Gluing your paper bags. Line one bag up with the bottom gusset facing down. With your glue stick/gun make a “t” shape in glue on the bag and place the next bag on top of the glue, again bottom gusset side down. Repeat this until you have 8 bags. You may want to stop at 4 and make your cuts so you have less bags to cut through. (see the next step for cuts)
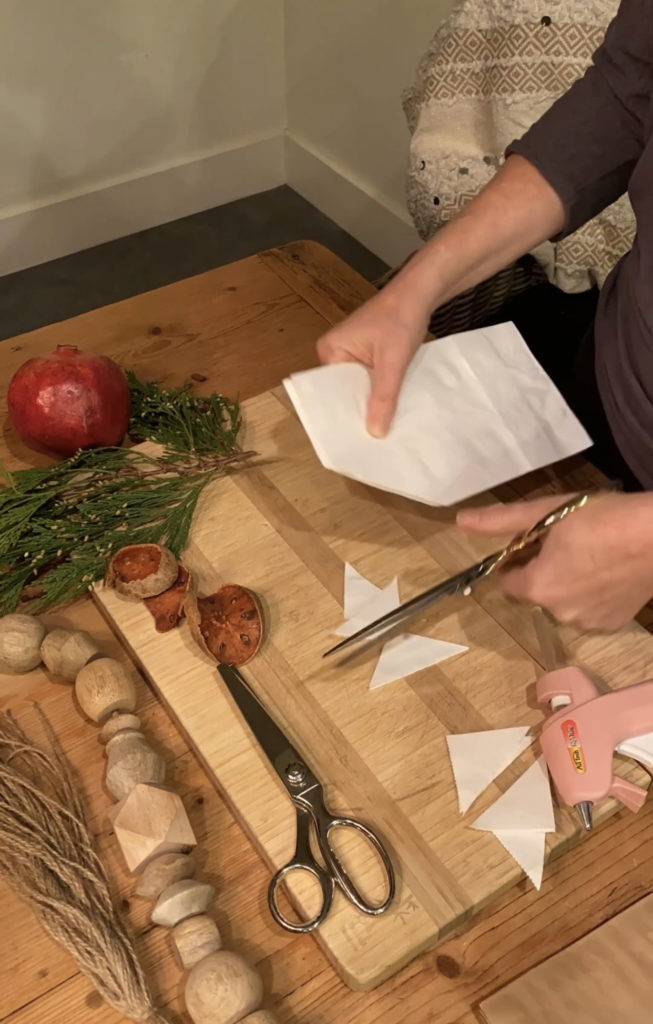
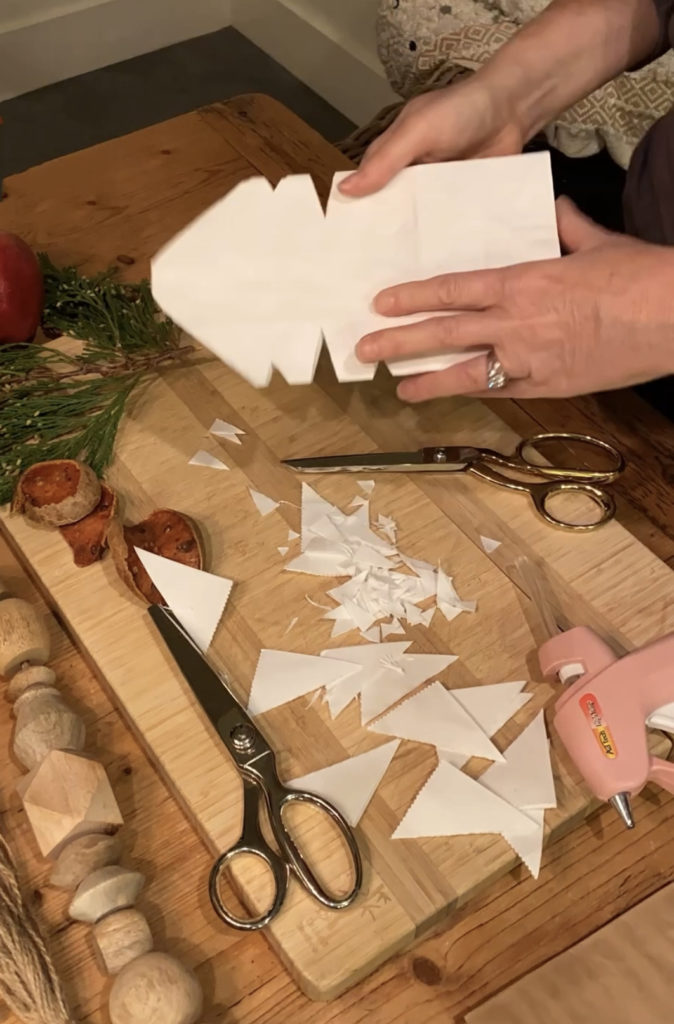
2. Cutting your paper bags. Now that your bags are glued, start designing! Cut designs through all the bags on both long sides. You can cut triangles, half circles, cut the top into a point, the options are endless!
Once finished, open up and ooh la lah! You have a paper snowflake!
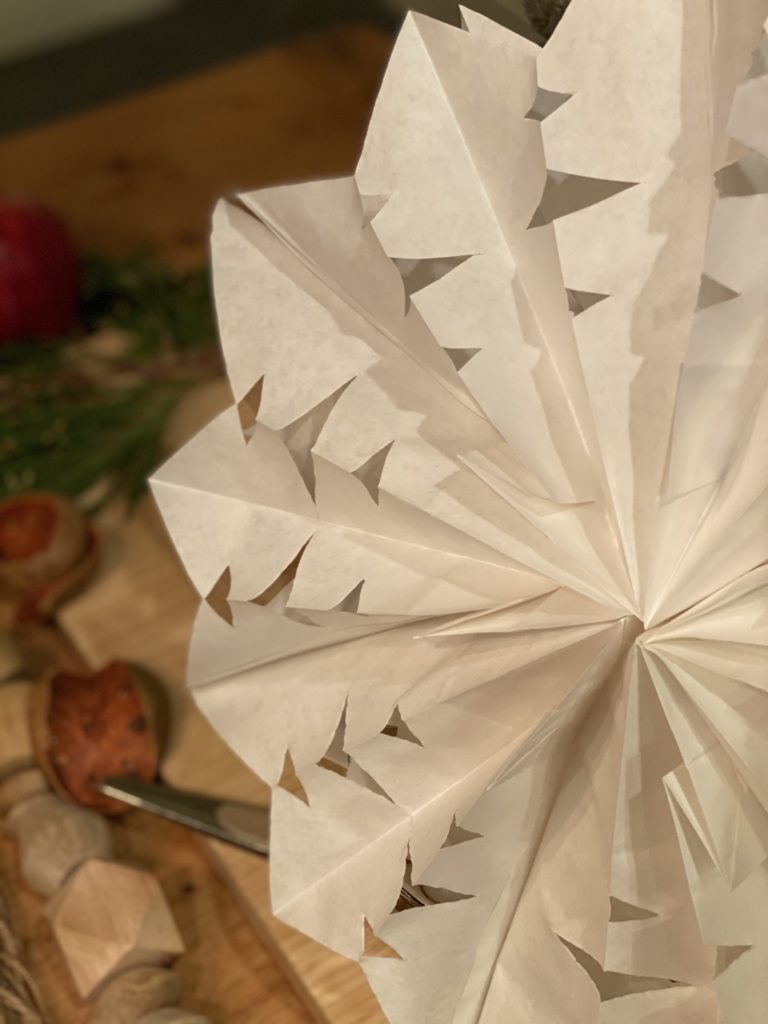
3. Decorate around the house by securing the top bag to the bottom bag with monofilament and hanging. I would recommend not glueing the top and bottom together so you can flatten the snowflake at the end of the season for storing to use next year.
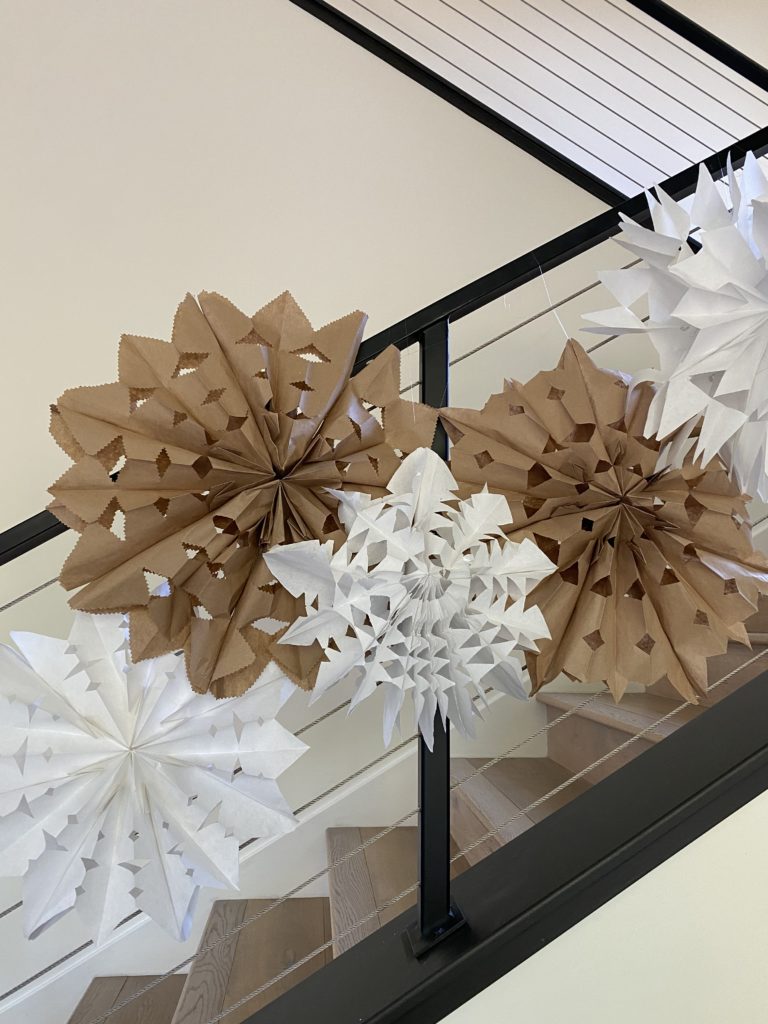
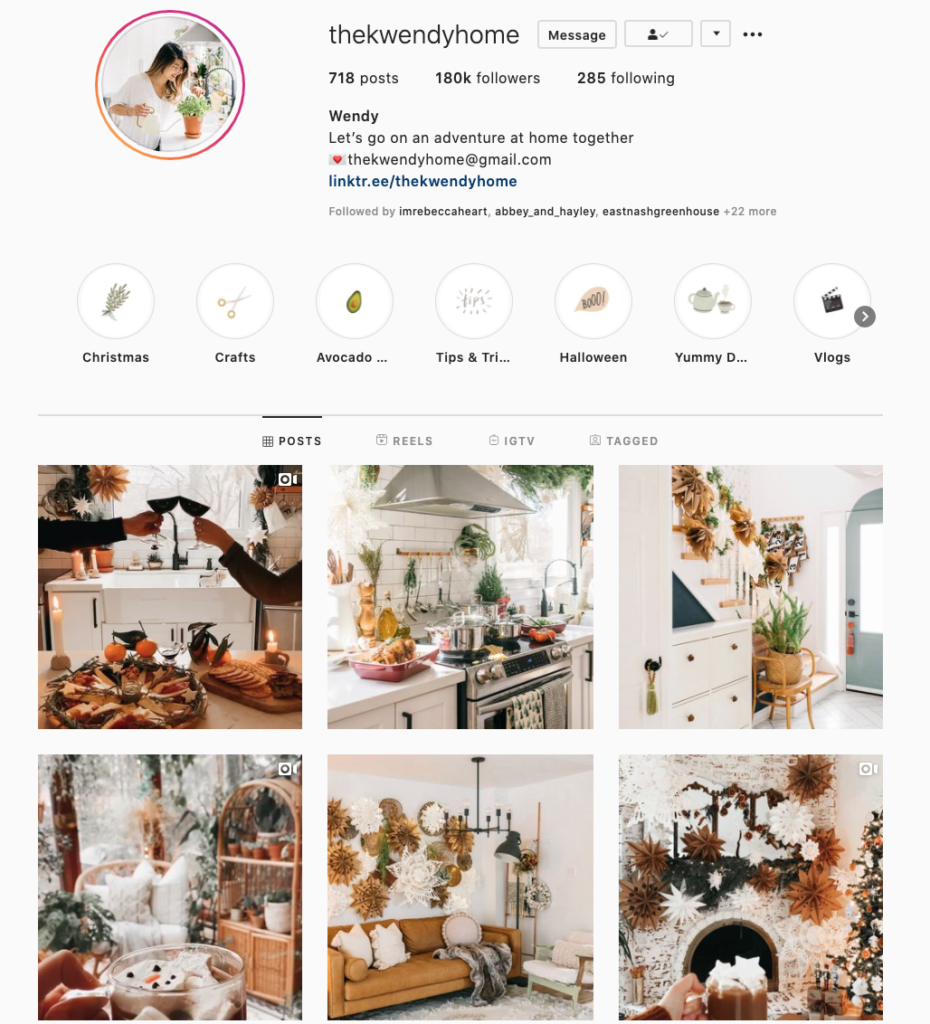
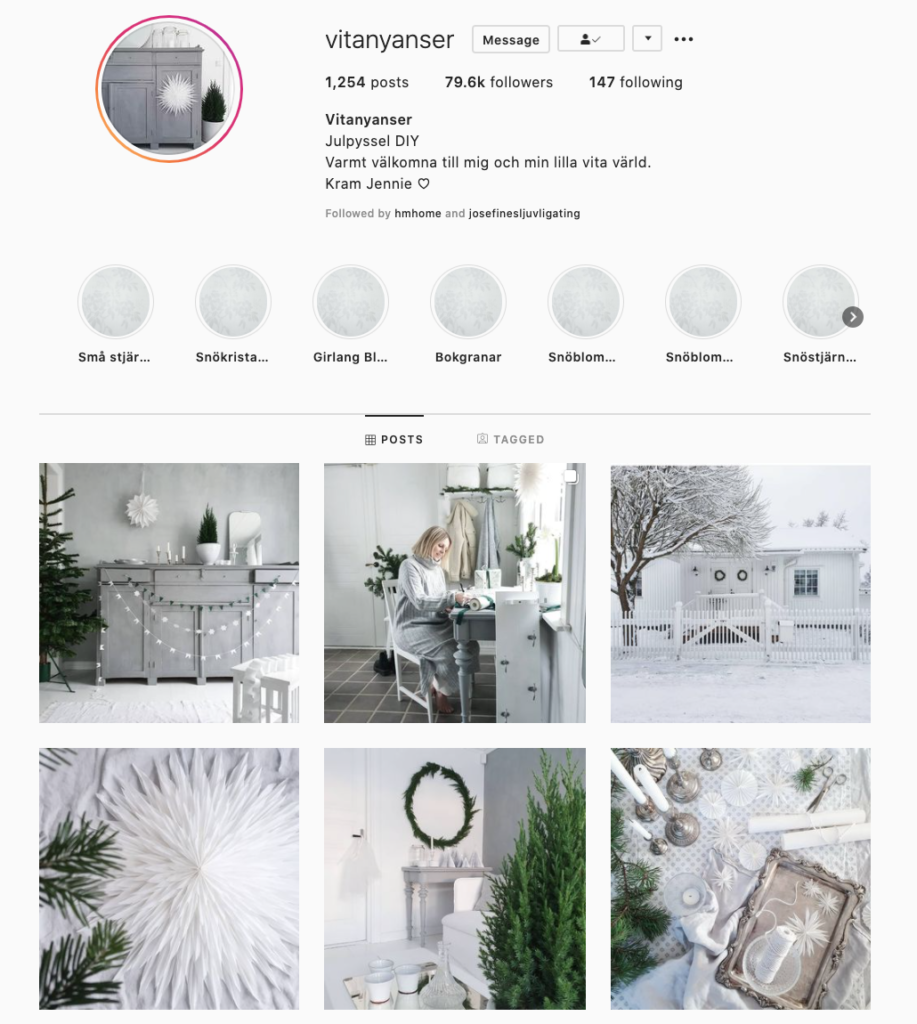
Others creating snowflakes around the web:
November 30, 2020
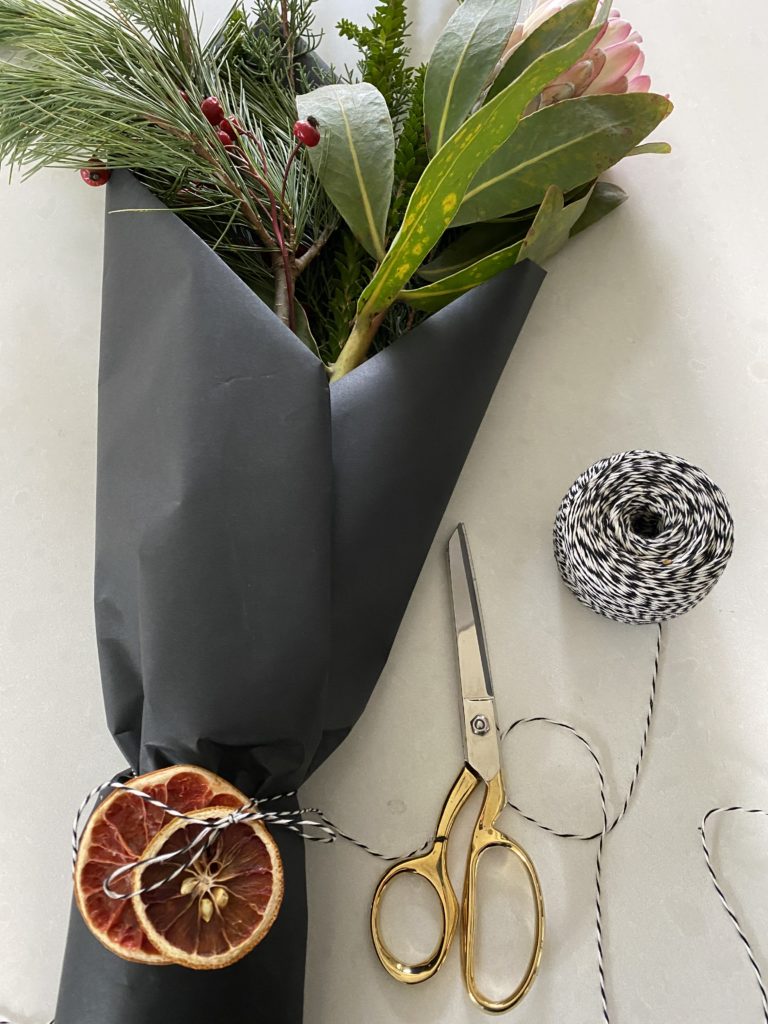
I have been throwing many things at the wall this year to see what sticks. Without Danielle Gibson Events designing and planning corporate events because of Covid, what do I want to do with my life during this time? I have asked this time and time again. This holiday I have decided to take my spare time and CREATE, something I love to do. I also like projects that are easy, so if this is you too, join me along the month of December!
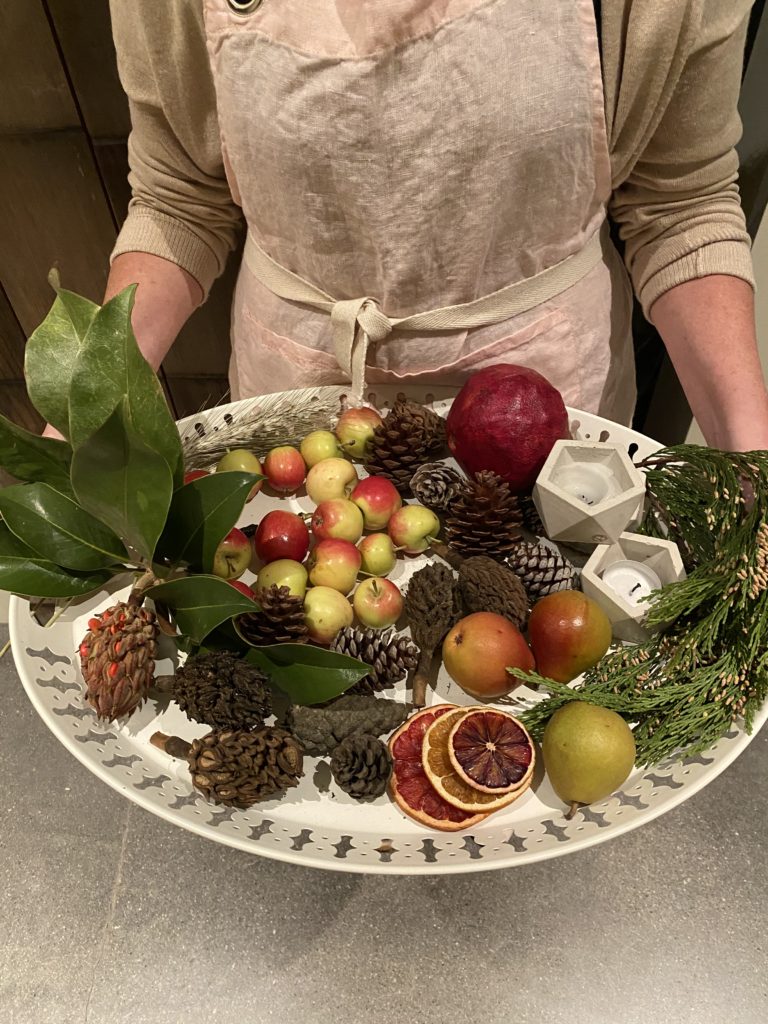
FIRST UP…DRIED CITRUS
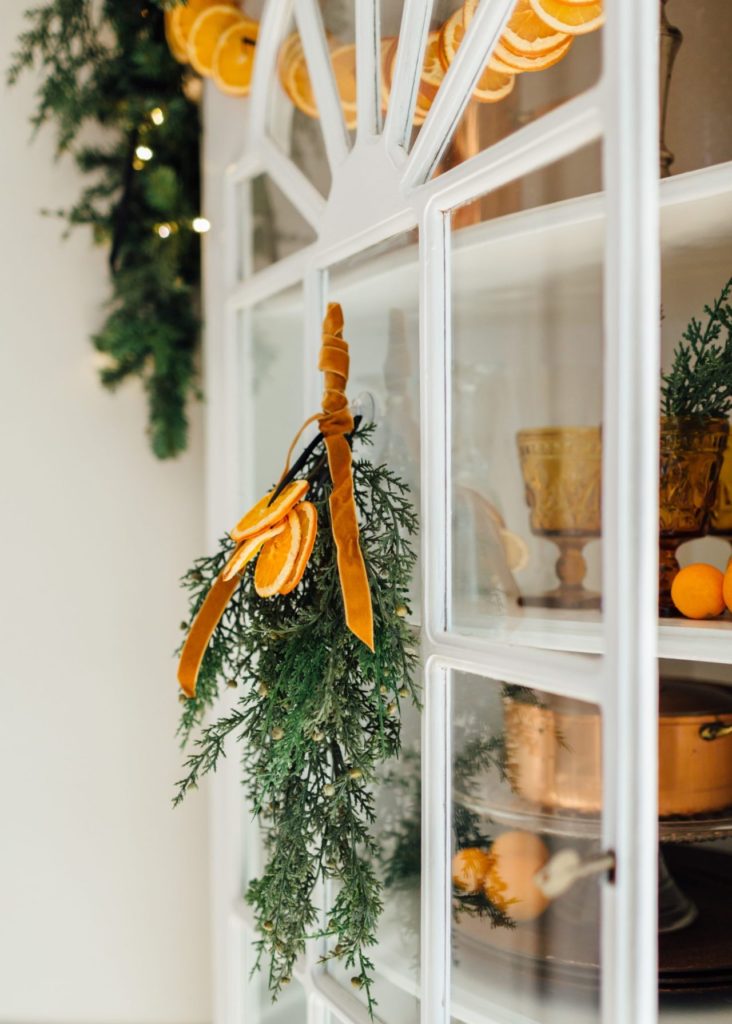
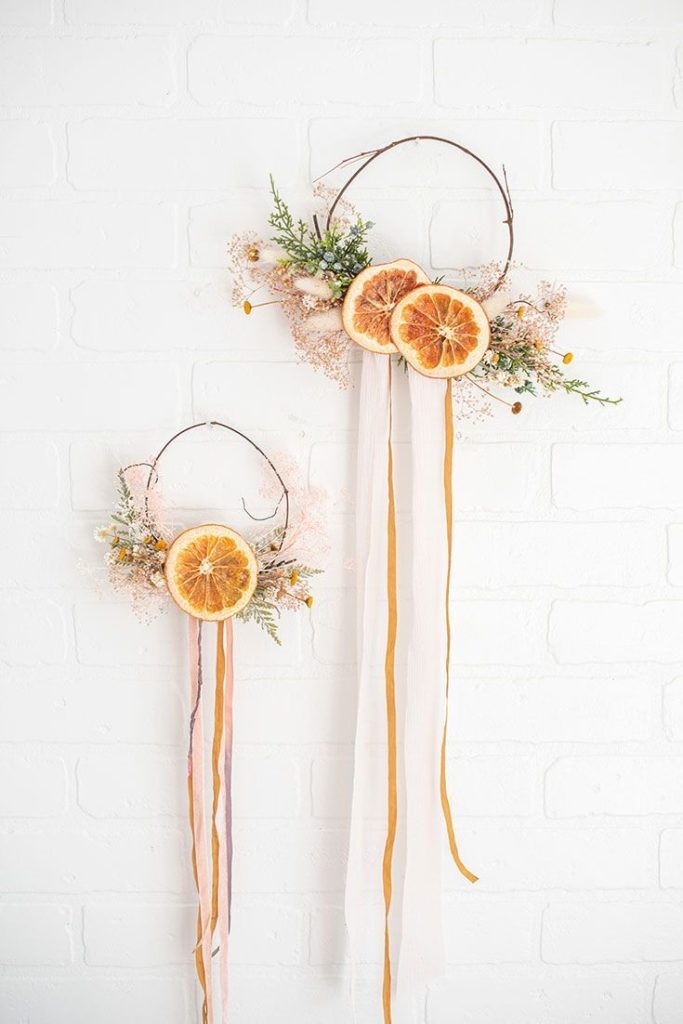
I have always loved the way dried citrus looks for the holidays, but for some reason never tried making it. I love the idea of not using typical decor and traditional colors for the holidays. I like creating a look that feels homemade and organic. There is also so many uses for dried citrus – hanging on your tree as an ornament, creating a citrus garland, adding it to a package as gift wrap, and using it in a decor vignette around the house… to name a few.
You can see my Instagram Reels on quick visual directions on how to dry the citrus.
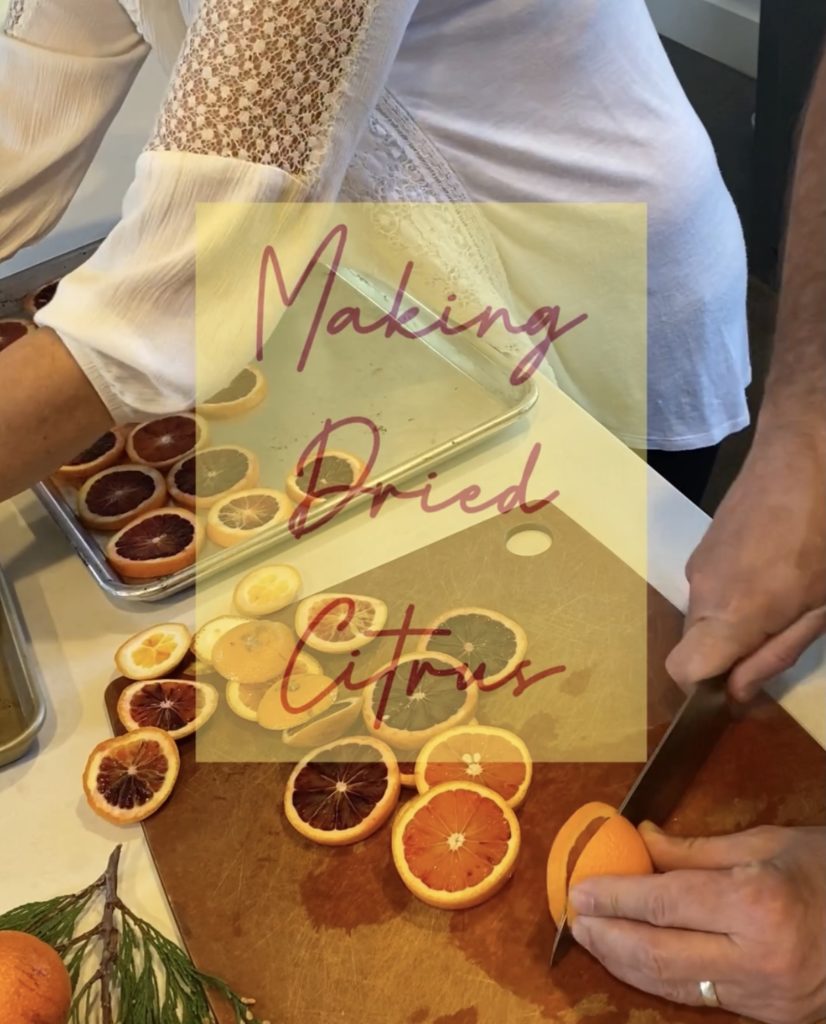
Here Is What You Need:
Citrus – Select different types of citrus so you have an array of sizes and colors. Oranges, blood oranges and grapefruits were the type I chose. Each citrus will give you about 4-5 slices depending on the size. You will be cutting the citrus into 1 cm slices so keep this in mind when selecting your size and quantity. Also, you want to think about how many slices you can fit on your baking sheet in the oven, since it takes about 4 hours to bake, you might only want to do this once! (but you can save them for several years!)
Baking Sheet – Any size baking sheet will work, depending on how many you want to bake.
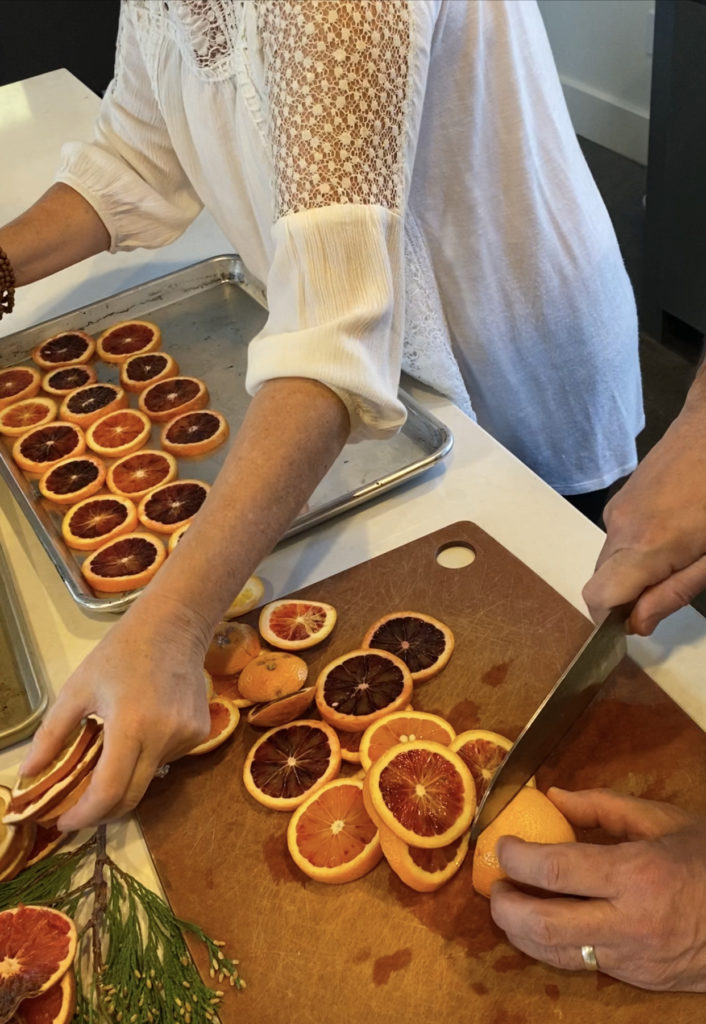
Step 1
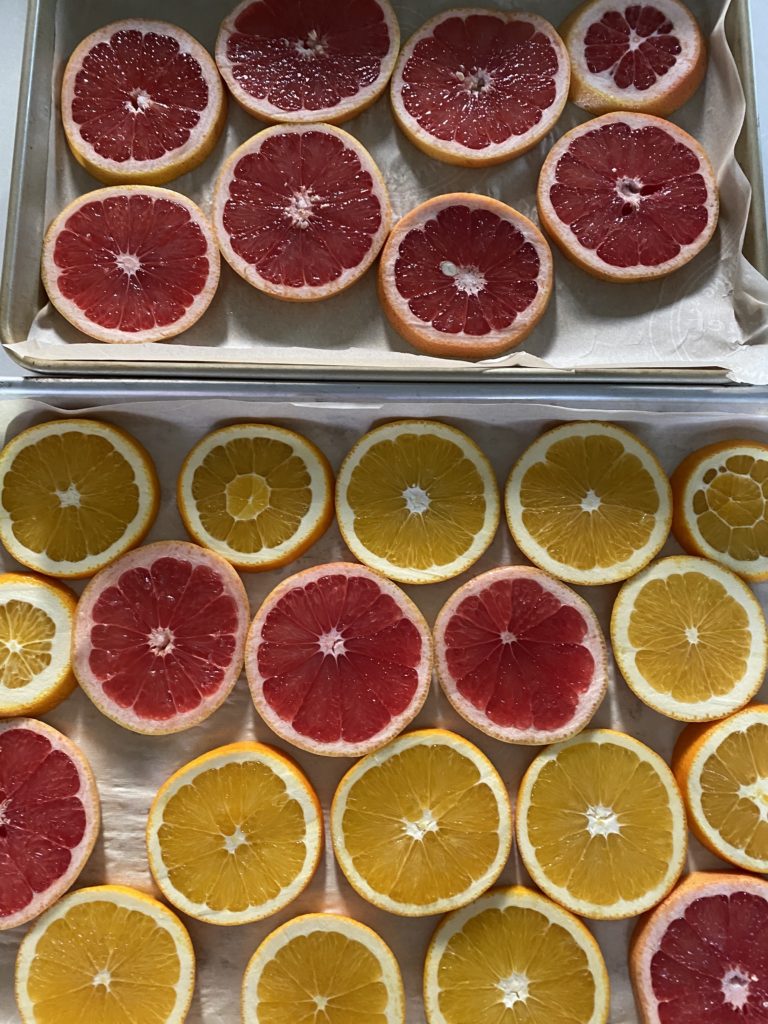
Pre-heat your oven to 250 degrees. Cut the citrus into 1 cm slices and line them up on your baking sheet. I like to use a paper towel and press down on each slice, gently pushing out the excess juice so gives them a head start! (In this photo I tried out parchment paper under the citrus, but I don’t think it is needed)
Step 2
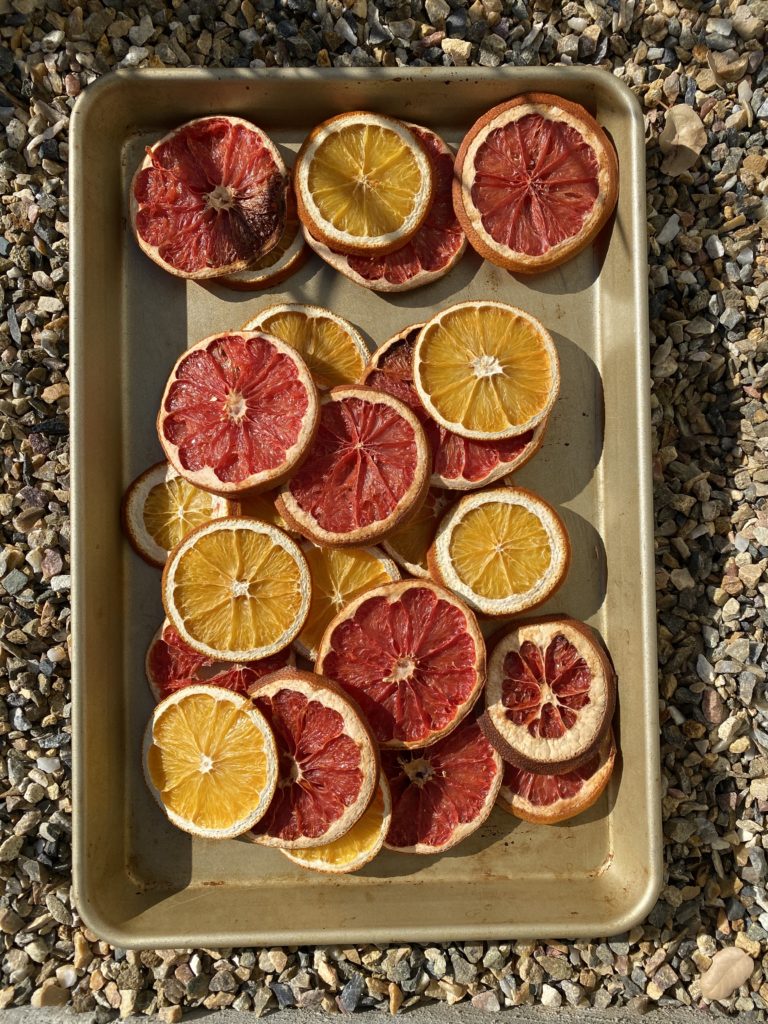
Place the slices on the baking sheet in the oven and set a timer for 1 hour. After 1 hour check on the drying process. I don’t think they will be done, but this will give you an idea of how much longer you should keep them on this side before flipping them over. I would assume about another 45 minutes on the first side. Once you feel they look pretty dry on this side, flip them over and bake for another 1-2 hours. Be careful not to keep them in too long and burn them.
Step 3
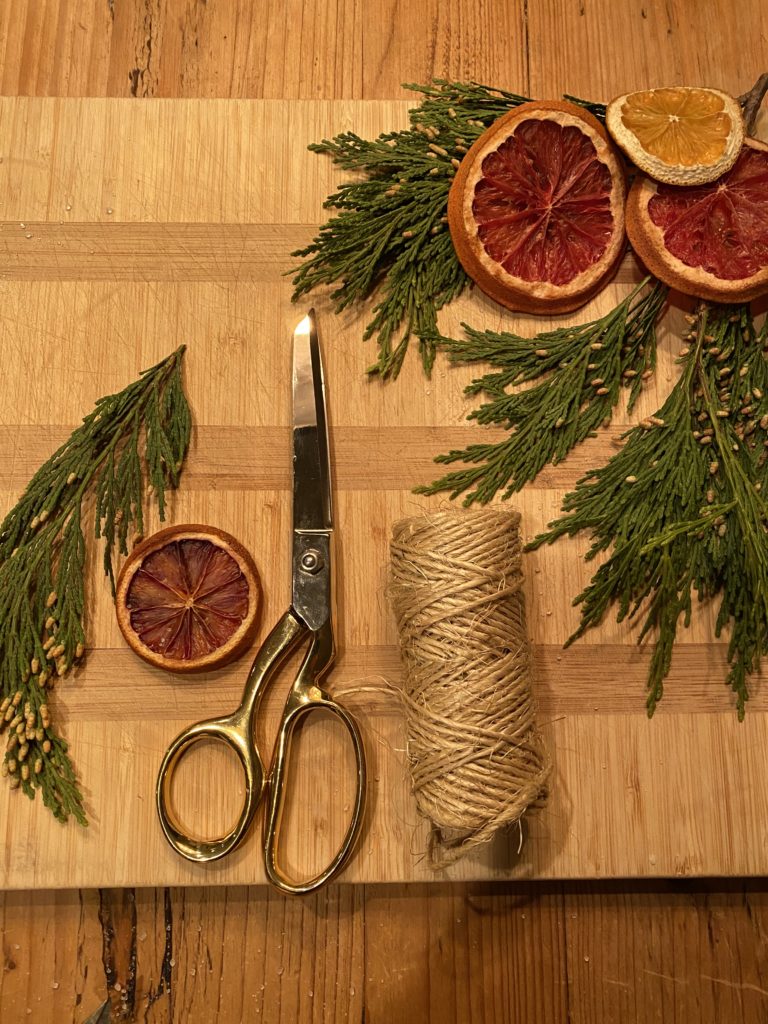
Remove your citrus from the oven and let them sit a few hours/day to continue to dry out. If you don’t have the time, you can always use them right away.
Step 4
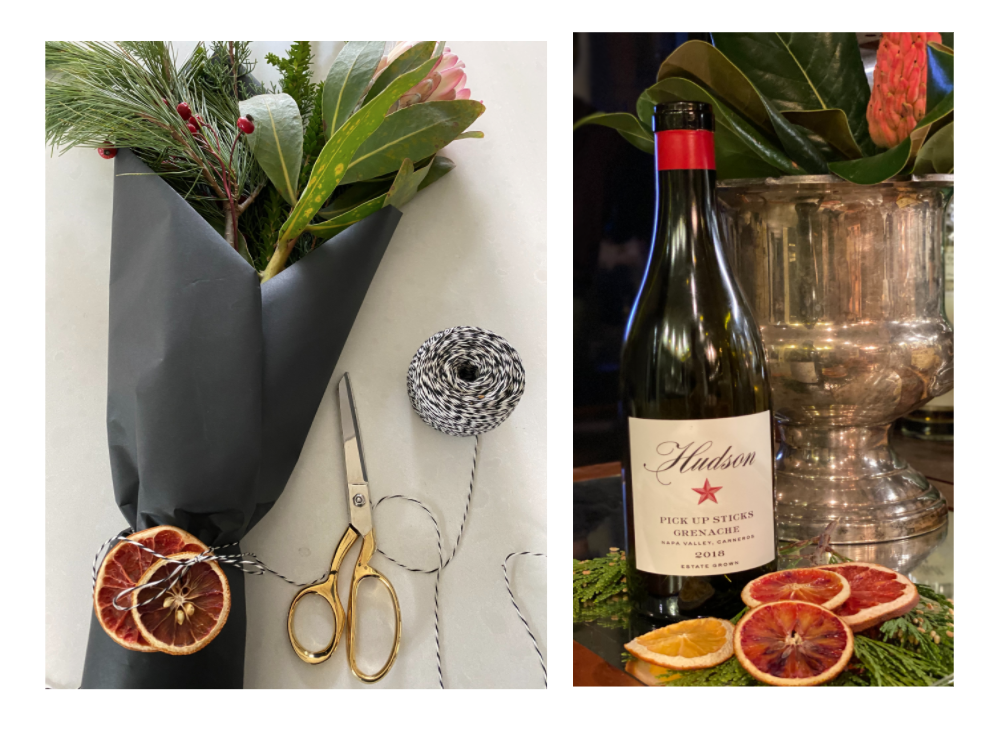
Decorate! Here I styled them next to items in my home with a little Holiday greenery. More design ideas coming during December, stay tuned!
Special thanks to all the Pinterest and Instagram posts I viewed that inspired this project.
Great makers of dried citrus around the web….
X
close
follow along on instagram @daniellegibsonevents

© DANIELLE GIBSON EVENTS
TEMPLATE CUSTOMIZATION BY OREGON LANE
DESIGN BY NORTHFOLK & CO
PRIVACY POLICY