
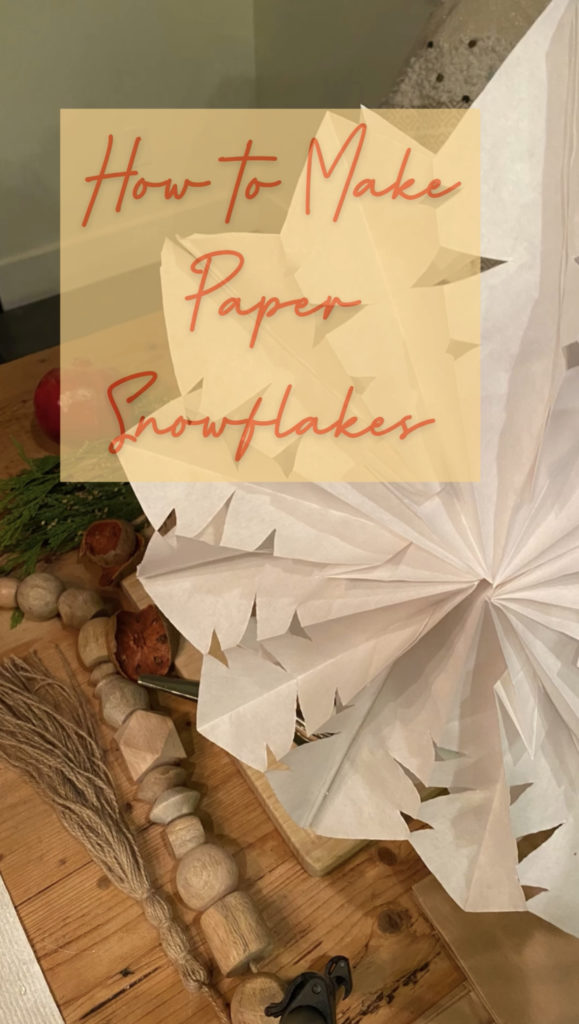
Home for the Holidays Decorating with Snowflakes
December 10, 2020
As part of our “Home for the Holidays” blogs we are showing you easy decorating ideas you can do at home, because isn’t that where we all are these day?
Next up, SNOWFLAKES!
You can watch my video on how to create snowflakes on Instagram.
Making paper snowflakes brings me back to childhood. No technology needed, just paper, glue and scissors, and it’s great for all ages!
First up! What You Need:
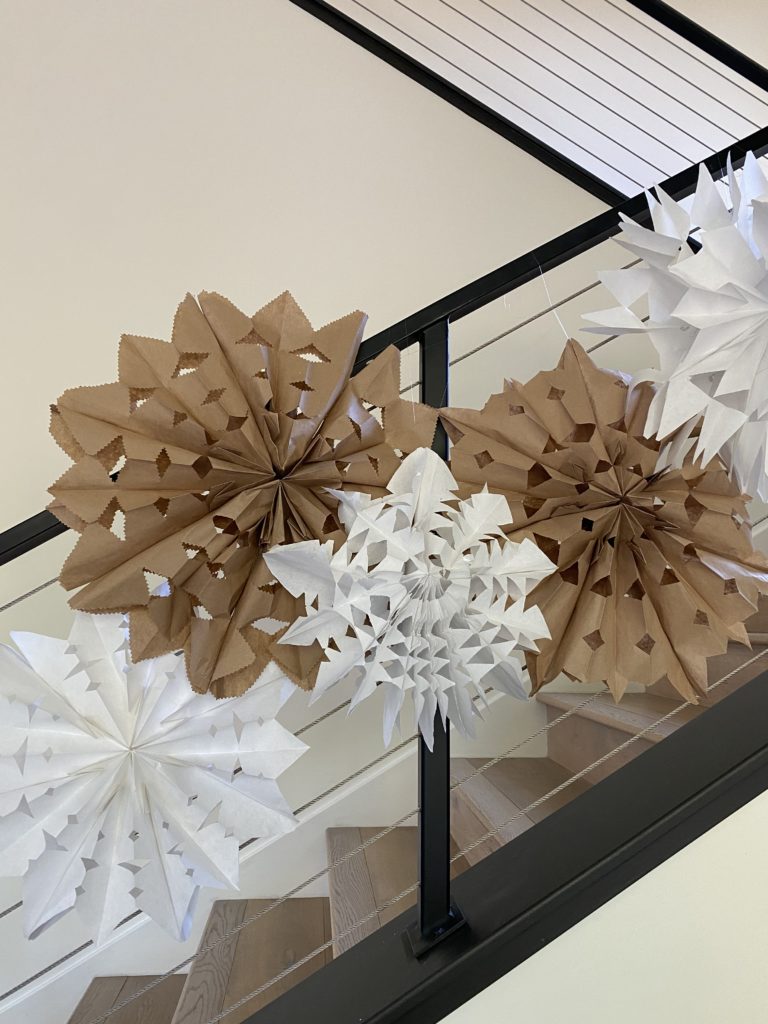
Paper lunch bags. It’s easy to find these in brown, but adding white into the mix makes decorating more interesting! Look for bags that don’t have branding details on the top, it might be visible when making your snowflake.
Scissors. Make sure to have strong metal scissors since you are cutting through several layers of bags. These decorative edge scissors are fun for this project, but it will be difficult to cut with these plastic scissors because of how many layers you have. It is possible, but will just take you more time.
Glue. You can use glue sticks or hot glue guns. If you are creating with children, I recommend glue sticks.
Monofilament for hanging.
How To Craft Your Snowflakes – 3 Easy Steps:
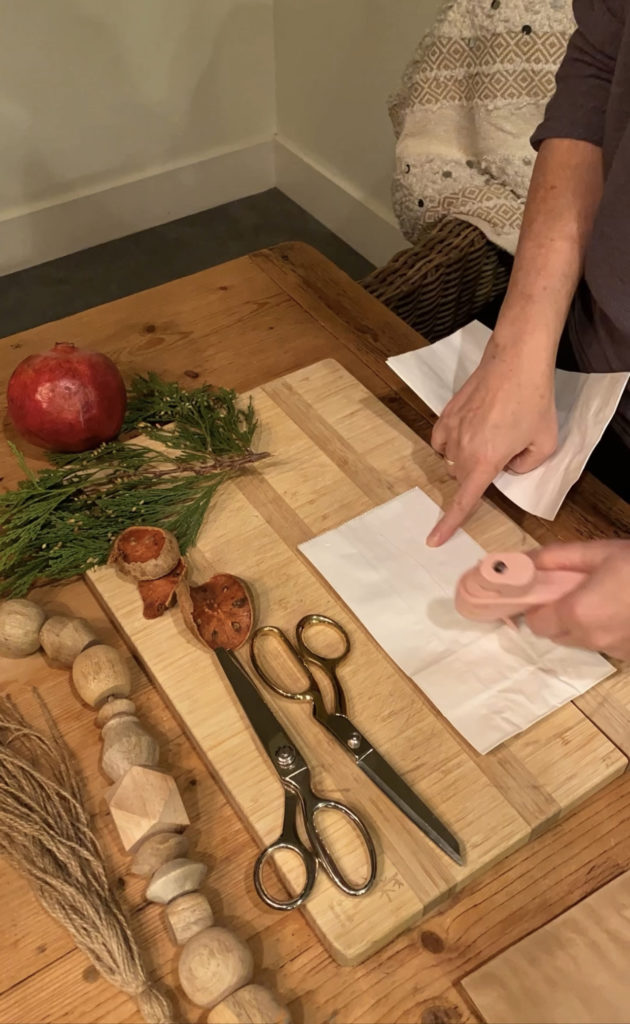
- Gluing your paper bags. Line one bag up with the bottom gusset facing down. With your glue stick/gun make a “t” shape in glue on the bag and place the next bag on top of the glue, again bottom gusset side down. Repeat this until you have 8 bags. You may want to stop at 4 and make your cuts so you have less bags to cut through. (see the next step for cuts)
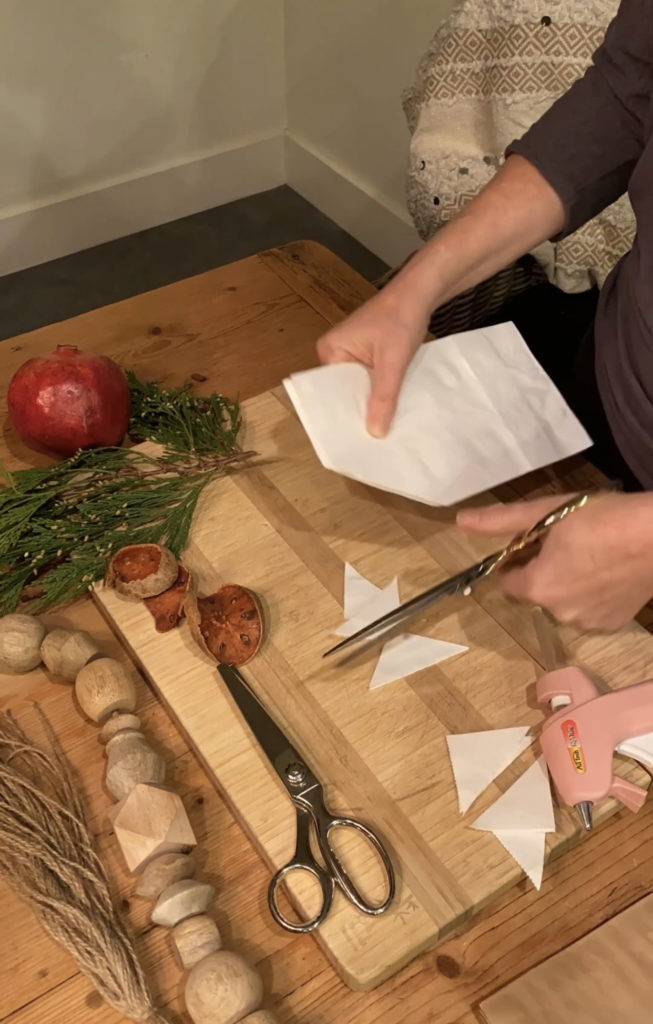
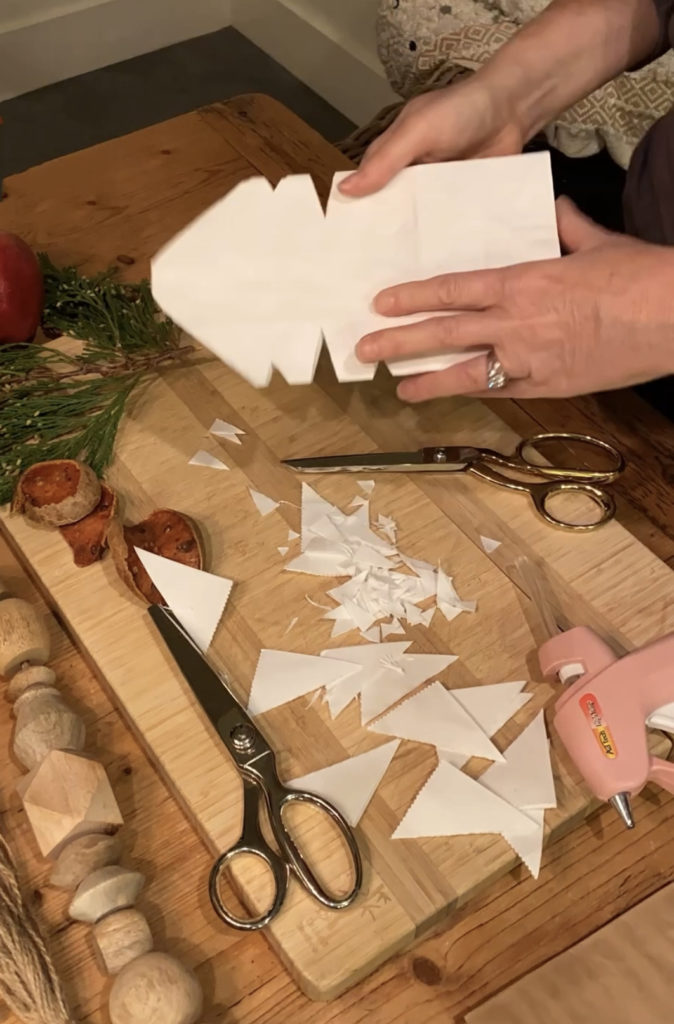
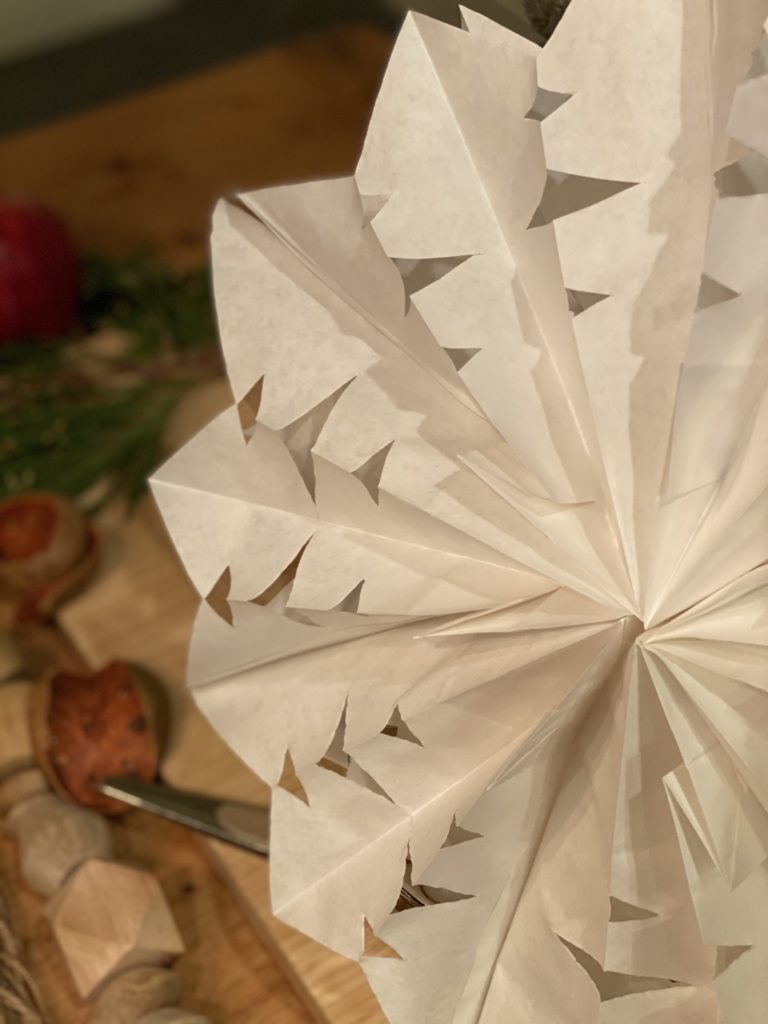
2. Cutting your paper bags. Now that your bags are glued, start designing! Cut designs through all the bags on both long sides. You can cut triangles, half circles, cut the top into a point, the options are endless!
Once finished, open up and ooh la lah! You have a paper snowflake!
3. Decorate around the house by securing the top bag to the bottom bag with monofilament and hanging. I would recommend not glueing the top and bottom together so you can flatten the snowflake at the end of the season for storing to use next year.

Others creating snowflakes around the web:

X
close
follow along on instagram @daniellegibsonevents

© DANIELLE GIBSON EVENTS
TEMPLATE CUSTOMIZATION BY OREGON LANE
DESIGN BY NORTHFOLK & CO
PRIVACY POLICY
